
Lets start with the basic cardboard house. I chose this size and shape so that it could be laid down and stored underneath my granddaughter's bed because they don't have much room. All the furniture, dolls, and the attachable side room can fit inside of the dollhouse. I picked a tall box that seemed the right width. This one was 8 1/2 inches square. Then I cut floors tracing around a quilting square and ran Elmer's glue around three edges and fitted them in to dry in place. It is important that the fit just right so there isn't a gap touching the walls for the glue to dry and it is a strong bond. They were strong enough that I didn't have to brace them underneath. I used a lot of masking tape to hold pieces together while they dried, especially when attaching the roof.

Some of the main tools that I used.

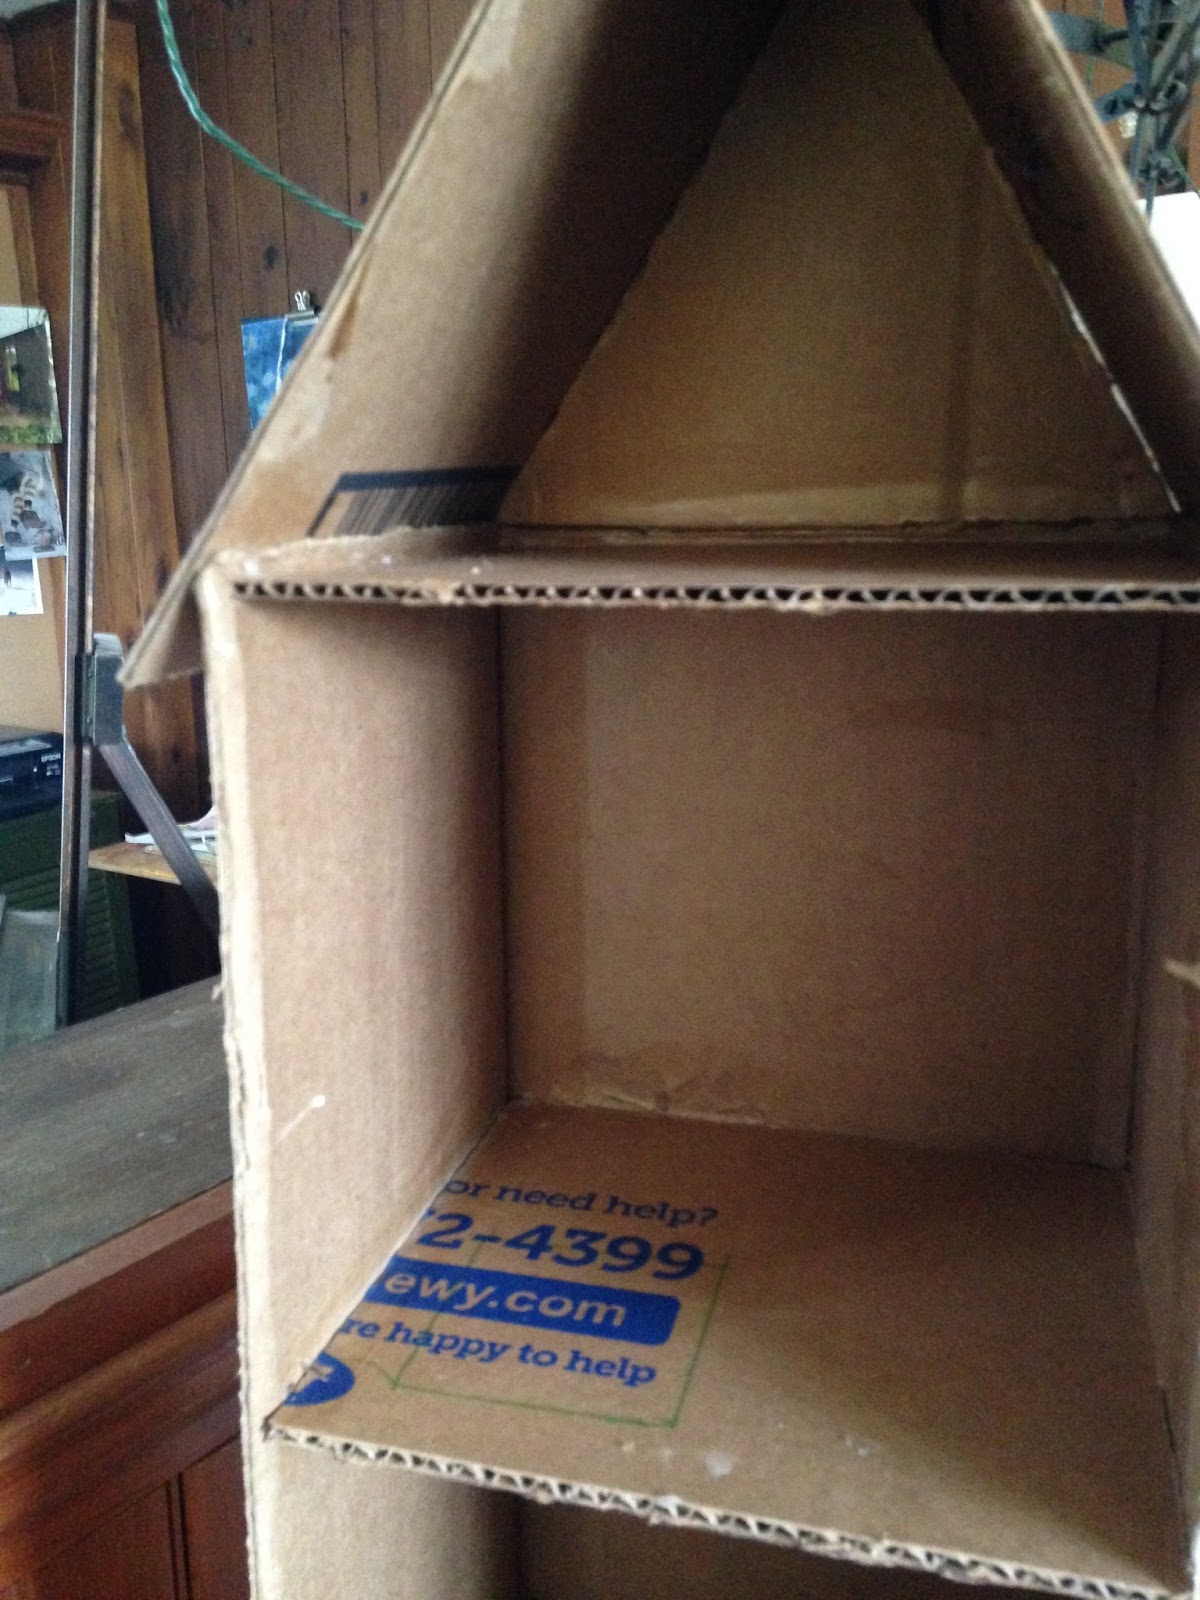
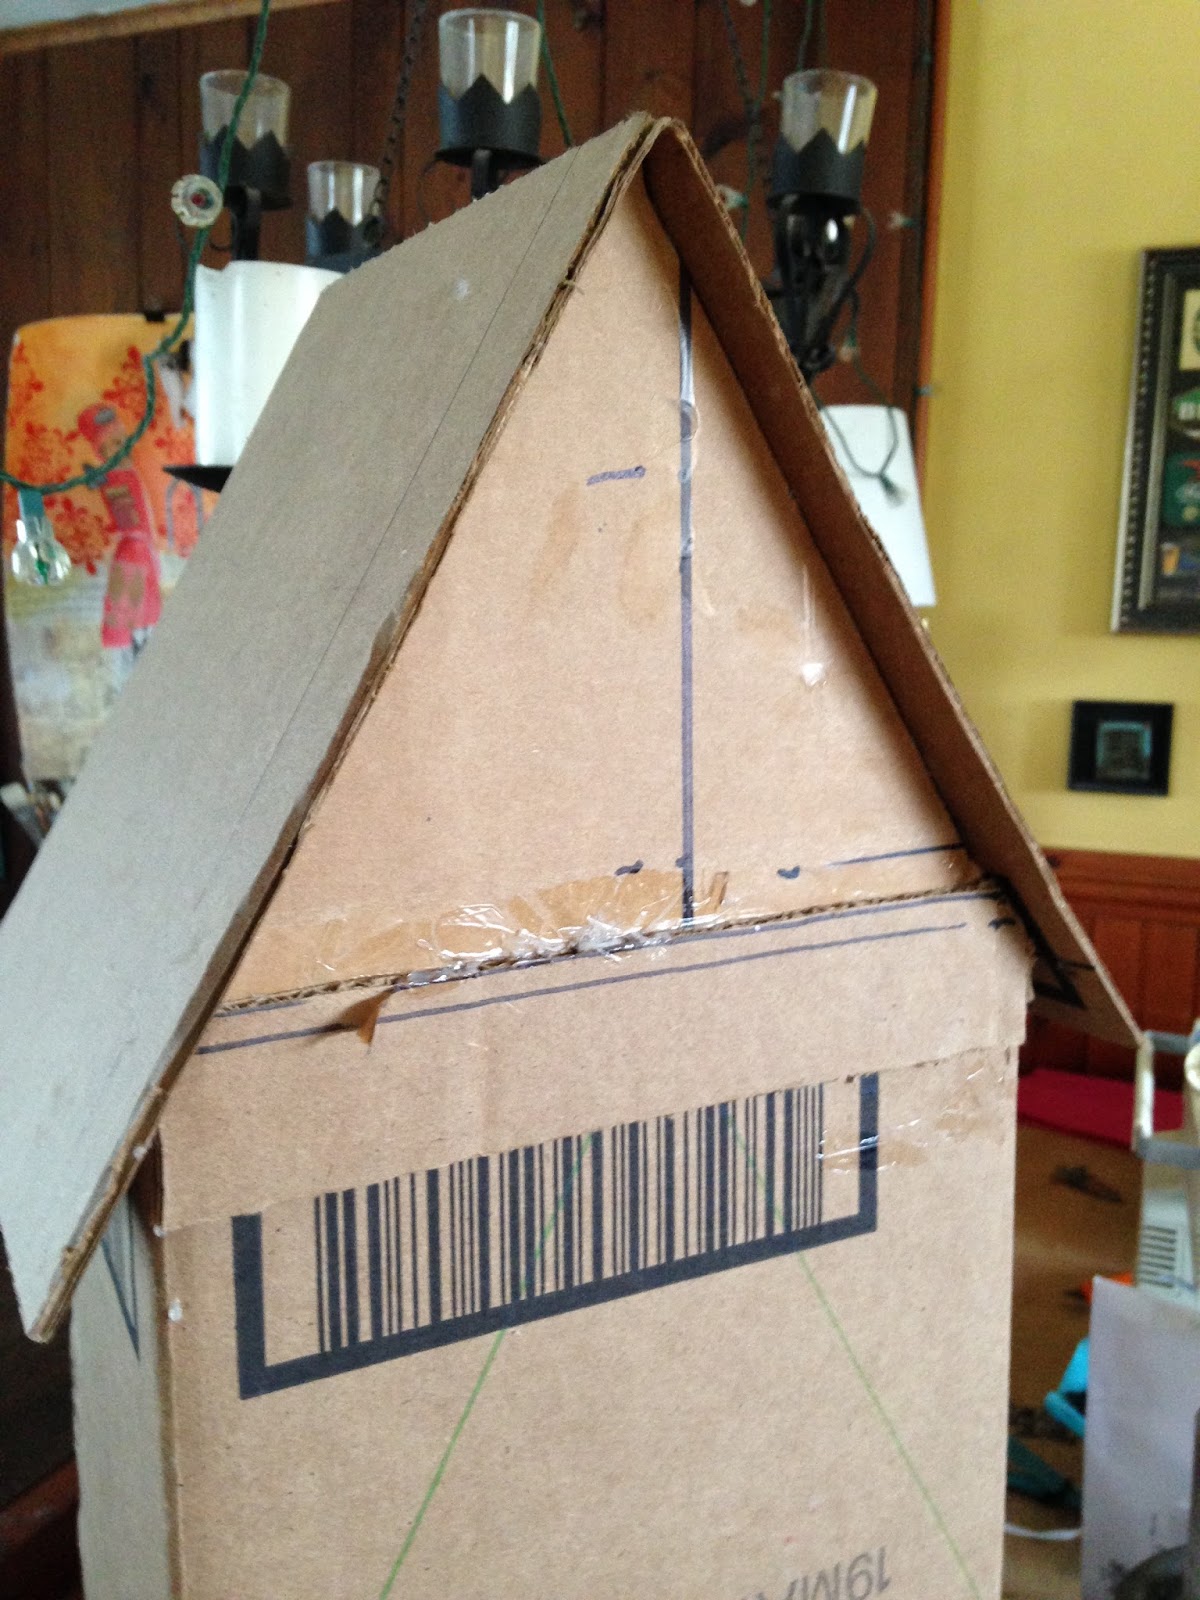
The roof is just a rectangle folded in the center with enough overlap that you want. The triangle I added after the roof and reinforced it with an another cardboard strip over the seam.


Next I gave it a once over primer coat with artist's gesso. You probably could use any white paint.

End of this part!
No comments:
Post a Comment
I would love to hear from you - please leave a comment. I hope you are enjoying my posts. Linda